Showing posts with label bulbs. Show all posts

Monday, October 27, 2014

breathing in fall....


It has been a slow moving fall around here.  My main focus has been to take it easy.  I've been working on making my health my main priority besides my family.   Eating good food, getting extra rest, and running.  

We have had a lovely time visiting one of my favorite fall places to take in the scenery.  I must say that this year has been one of the most spectacular years for fall color in these parts!  The grounds are full of history and charm at the old equestrian farm.   Our family celebrations have been endless but oh so wonderful just to have everyone together.  My new favorite tablecloth for parties is brown craft paper.  Just throw it down with some fun notes about the birthday bean and presto!  You have yourself a table!  The garden is getting cleaned up as bulbs are going into beds and containers.  Always being covered with chicken wire of course, to keep my outdoor friends away!    I have done some thrifting.  I found that tray up there for 10 dollars at an antique shop.  Covered with birds and a pretty gold finish it is perfect for a little fall display.

All and all life is good!  I'm glad I took the break but I'm happy to be back here in my little space to catch up with all of you!

Happy Making, Baking, and Growing Friends!


Thursday, May 8, 2014

good day sunshine


Hey folks!  We had the most glorious sunshine today!  Popsicles, sprinkler time, and good old dirt digging! Things are popping on through in the garden though we still have a bit that is delayed from the cold spring temps of April.  I have been working like a dog trying to get the start of the season up and running around here so I apologize if I have not been around for a visit.  That and a pretty nasty bug that I'm just getting over! 


herbs in


The beds are waking up!


containers are being made...Torenia Hybrid, Plectranthus, Millium "Flashlights" {annuals for shade}


color blocking with Coleus 


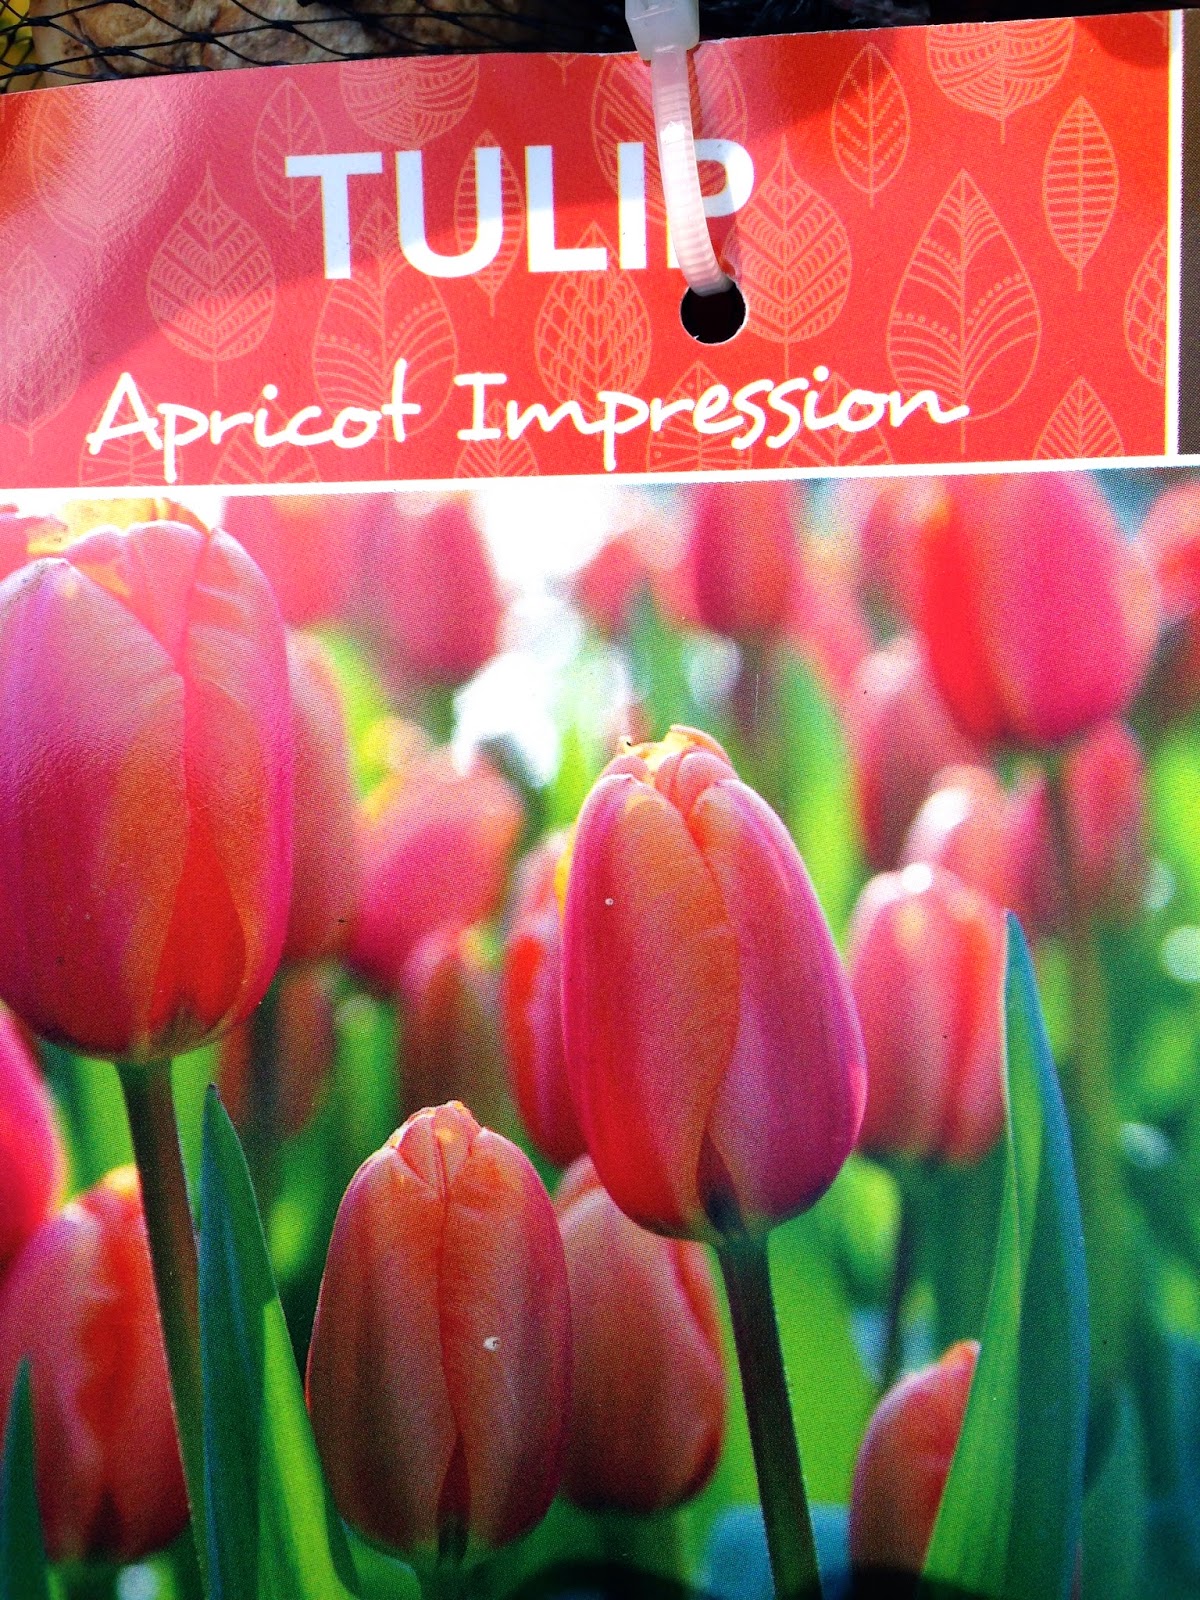
my tulips


more tulips...my favorite


Another construction area in the garden....a whole new vision...to be continued on this one!


nature adventures with the beans


And a while back I talked about trying new recipes from my Aunt Tina's cookbook.  Here is our latest one and it's another keeper!


Turkey-Stuffed Shells


~ 12 oz package jumbo shells
~ 1 lb ground turkey
~ a dash of olive oil for the pan
~ 1 10 oz package of frozen chopped spinach, thawed and drained
~ 2 medium size onions
~ 1 8 oz container of ricotta cheese or you can use cottage cheese
~ 3/4 cup of parmesan cheese
~ 4 tbsp. of butter
~ 3 tbsp. of flour
~ 2 1/4 cups of milk
~ 1/2 tsp. salt
~ 1/2 a cup of shredded mozzarella cheese


Boil your pasta shells.  Meanwhile, in a pan over medium-high heat, sprinkle in your olive oil.  Cook your onions for a few minutes and then add your turkey.  Stirring occasionally until the turkey is brown and the onions are tender.  Remove the pan from the heat and stir in....spinach, ricotta cheese, and parmesan cheese.

In a saucepan over low heat melt your butter and stir in flour until blended.  Cook 1 minute.  Gradually stir in milk and salt.  Cook, stirring constantly, until sauce boils and thickens.  (you may need to add a hint more flour if it is not thickening) Pour half of the sauce into a 13x9 inch baking dish.

Preheat oven to 350 degrees F.  Drain your shells.  Fill the shells with your turkey mixture and arrange them on the sauce in the baking dish.  Pour remaining sauce over your shells and sprinkle with mozzarella cheese.  Bake for 30 minutes or until mixture is hot and bubbly.  Turn oven control to broil. Broil your stuffed shells for no longer than 5 minutes until the tops are brown.  And enjoy!


Happy Making, Baking, and Growing!


Thursday, April 10, 2014

galvanized steel wash tub

I have admired steel wash tubs in the garden for a while but have never come across the right one. 

via~Williams-Sonoma


 Today as I was heading to the park with the beans, I passed by a garage sale and there it was!  A beauty waiting to be swept up!  The family selling this tub even had a typed up history about our tub....

Vintage No. 3 Rust, Leak, Fire and Rodent Resistant (will not crack in the cold) Domestic Hot Dipped Galvanized Steel Wash Tub.

F.H. Lawson Co. Cincinnati OH produced metal trash cans and garbage pails.  The company was founded in 1816 and had a successful run for several decades.  However, it became burdened by financial difficulties that were precipitated by a leveraged buyout in the 1970's, and F. H. Lawson Co. finally ceased operations in early 1988.  When plastic receptacles were first introduced by Rubbermaid and Continental, it made business very tough for the F. H. Lawson Company.


The tub is 24 and a half inches in diameter.  I will be lining it and popping some holes in the bottom for drainage.  And then in goes some seeds for salad greens this weekend!


Crocuses are popping up while the daffs and tulips are showing their faces!  Peas are planted in the front yard and more are going in out back this weekend.


Now, I can't say that we have as much going on as you Northwestern gardeners...but hey, it's a start!!!


Some of my crocuses being eaten by our unruly squirrels!


Happy planting folks!


Friday, January 3, 2014

Floral Fridays....A New Bloom


I have a few plants growing inside this winter like these Paperwhites.  It makes me happy to see growth and green in the dead of winter and reminds me that with these new blooms there are new and exciting possibilities this year in my garden.  To me that is the beauty of gardening.  The possibilities!

I was thrilled when my friend Trishie from the stunning blog Under Lock and Key  invited me to join along in her new monthly blog link-up.   

Floral Fridays is a monthly photography project with different themes each month. This series is about fun and taking time out to smell the flowers!  I know so many of you have a thing for flowers like me, so if you would .like to play along please email Trishie at {trishie@underlockandkeyblog.com} about this fun flower project!!!


Happy Making, Baking, and Growing!!!!


Wednesday, November 13, 2013

Simple Holiday Art

Well, the bulbs are planted, the leaves are raked, and most of my pots are put away.  


I'll be working on a winter vignette in the garden when the holiday greens are in but until then I've been making some art for the house after the beans go to sleep.

This is a quick piece for a Thanksgiving vignette which can easily transition into Christmas.

Super simple! 

Here is what you need...


~a metallic pen
~a ruler
~thick weighted paper (I used watercolor paper)
~and a shape...here I used a leaf shape but any will do...snowflake, tree, ornament 

  1. Simply make a line at the top of your paper with your pen
  2. Trace your shape on your line until you have made a full row
  3. Continue this process down the page
  4. Add lines in the center of your shape that accent your "shape" (I placed the ruler in the center of the leaf to create lines on both sides)
  5. And lastly define each shape with your pen by thickening up your lines
The overall repetition of the simple shapes makes the composition work for me.  I have a love for pattern and printmaking but without an adequate studio, decided to create the "print" look with pen.


Happy making, baking, and growing friends!!!


linking with... The Winthrop ChroniclesJennifer RizzoI Should Be Mopping The FloorLiz Marie BlogWonderful at HomeThe Shabby Nest